
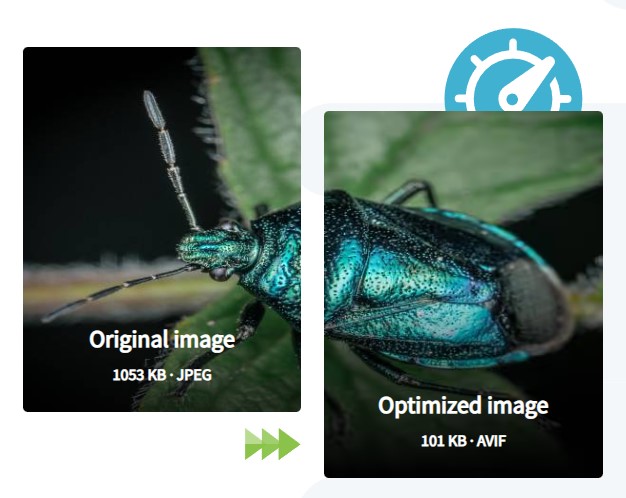
Are you looking for ways to optimize images in WordPress?
Image optimization in WordPress is quite easy to do, in this article I will explain how to use the imagify plugin for image optimization in WordPress.
Imagify Plugin Setup
There are 2 things we need to do to setup the imagify plugin before we can use it, namely: install the plugin, and setup Imagify API Key.
Install the Imagify Plugin
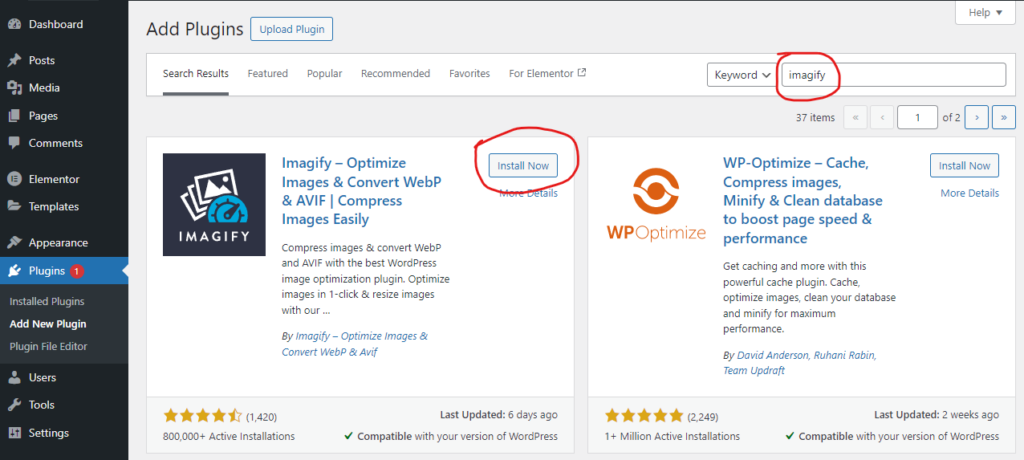
The first step is to install the imagify plugin itself. You just need to access the Plugin -> Add new plugin menu from the wordpress dashboard.
Search for imagify then click the “Install Now” button, then click the “Activate” button.
Setup Imagify API Key
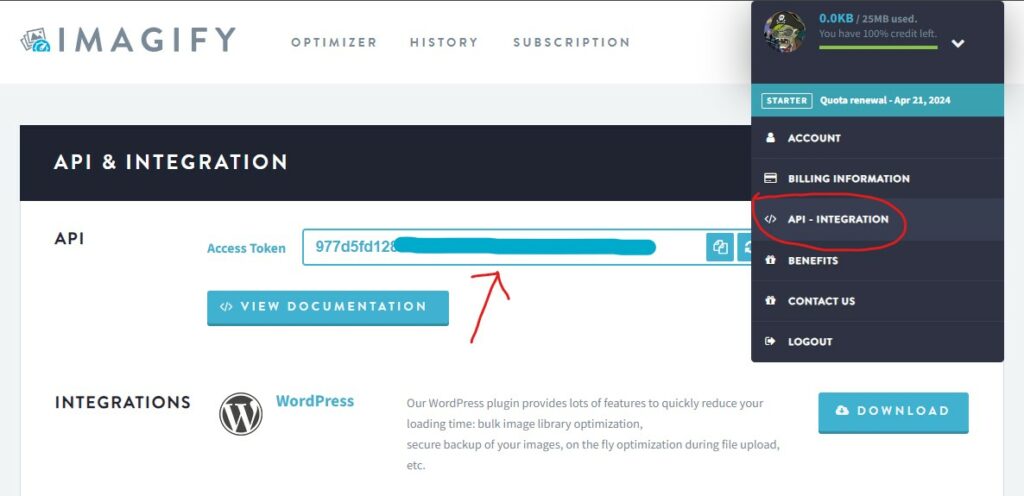
You need an API Key from Imagify to be able to use the plugin. Getting the API Key is very easy, you just need to create an account on Imagify then access “My Account” -> “API Integration” menu to get your API Key.
Access “Imagify”-> “Settings” page then paste your API key in the field provided.
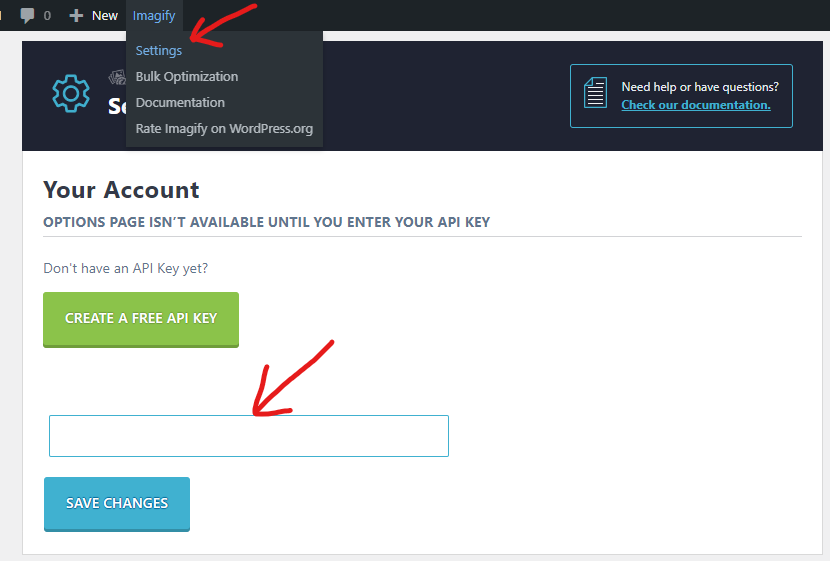
The imagify plugin is now ready for use.
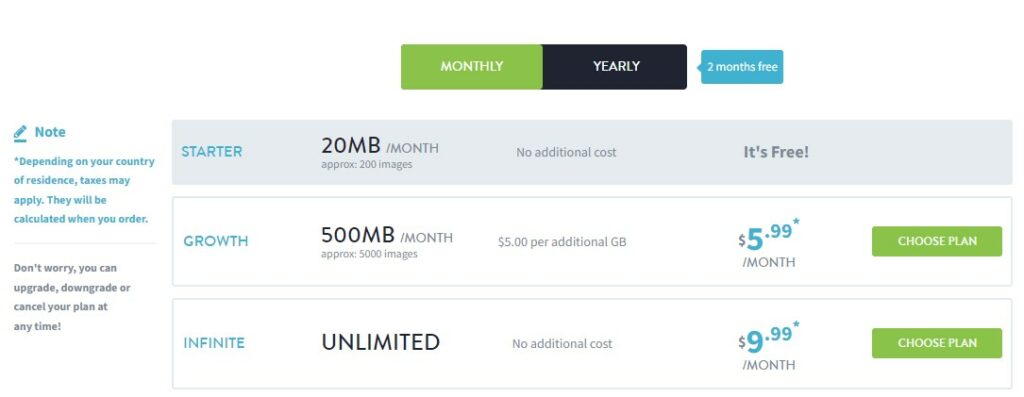
Imagify subscription plan
Keep in mind, the free account you just created has a usage limit of 20 MB per month, which means you can only optimize a few images with a total accumulated size of up to 20 MB each month.
You can upgrade your subscription package from Free to a paid package if needed, the price offered is very cheap, you can check on the subscription page from your imagify dashboard.
How to Optimize Images in WordPress with Imagify
Image optimization with Imagify is quite easy to do by simply using Imagify’s default settings.
Imagify will automatically optimize any image that you are uploading. To optimize previously uploaded images, you can access the “Media” and make sure to select the list view.
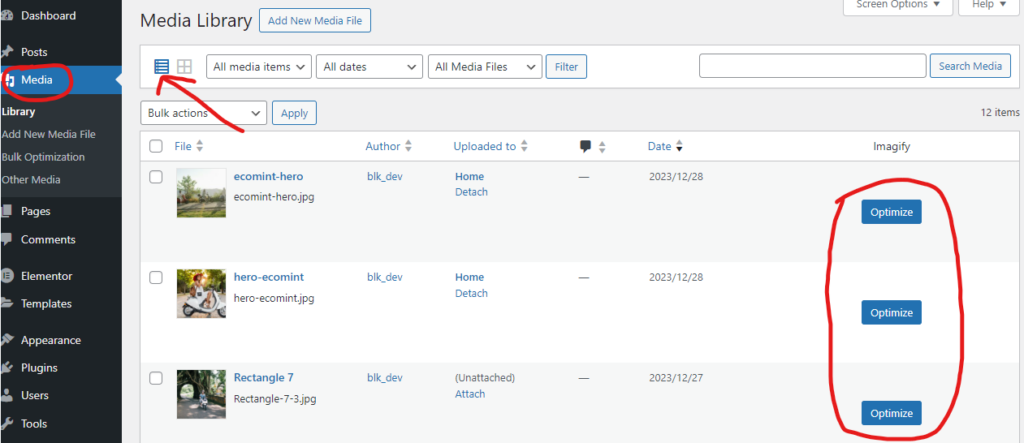
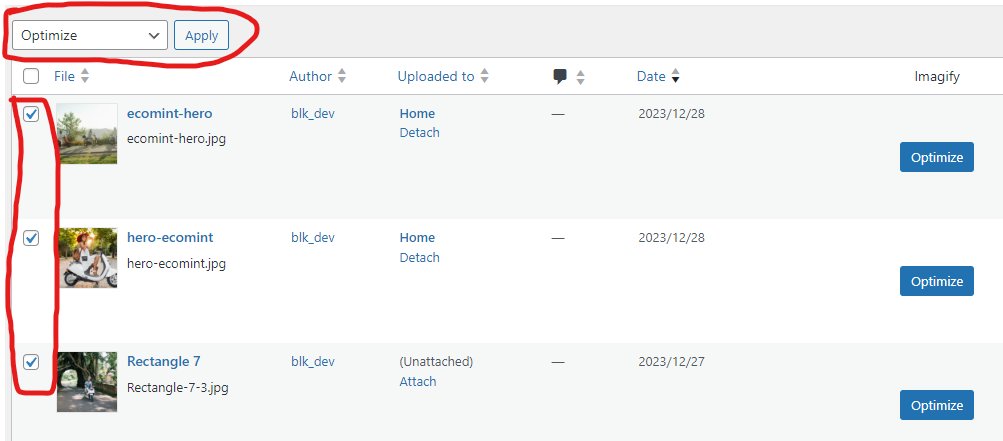
To optimize one image you can click the “Optimize” button. You can also optimize many images at once by checking the images and selecting “Optimize” in “Bulk Actions” then click apply.
Optimize all images in a single click
You can also use the “Bulk Optimization” feature to optimize all images with just the click of a button, how easy is that?
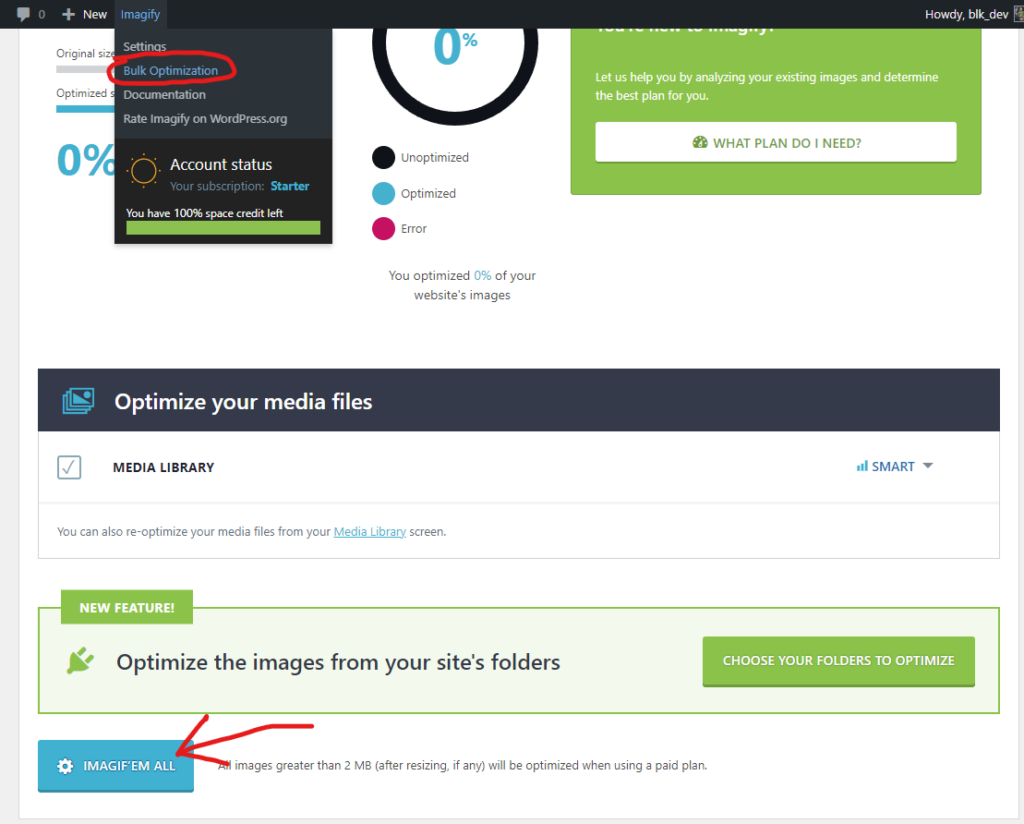
On this page you are also presented with data on the percentage of images that have been optimized, those that have not been optimized, and errors.
Bonus Tips
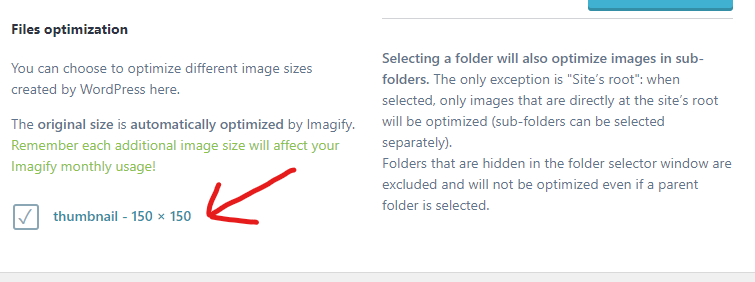
WordPress generally has more than one image size, depending on how your WordPress website is built.
WordPress will create another size version of the image you upload. In addition to the original image size, by default these other image sizes will also be optimized by Imagify which will consume your monthly limit.
If your WordPress has more than one image size, make sure you only optimize the sizes that are used on the website.
If you can’t recognize which image sizes are being used, consult your website developer.
By following the steps above, you can now do image optimization on WordPress websites in a easy breeze way, good luck!
Don’t forget to write in the comment section if you have any questions or suggestions, thank you for reading my article.
