
Installing WordPress on XAMPP localhost server is one of the most popular ways to develop a website locally before publishing it online.
In this article, we will go through the steps on how to install WordPress on XAMPP localhost. This process will include XAMPP installation, WordPress installation, and basic WordPress management such as login, plugin installation, and themes.
How to Install XAMPP
The first step in installing WordPress on XAMPP localhost is to install XAMPP itself. XAMPP is a software package containing Apache, MySQL, PHP, and Perl servers that can be used to create a local server environment on your computer. Here are the steps to install XAMPP:
Download XAMPP
Visit the official XAMPP website and download the latest version of XAMPP that matches your operating system.
Install XAMPP
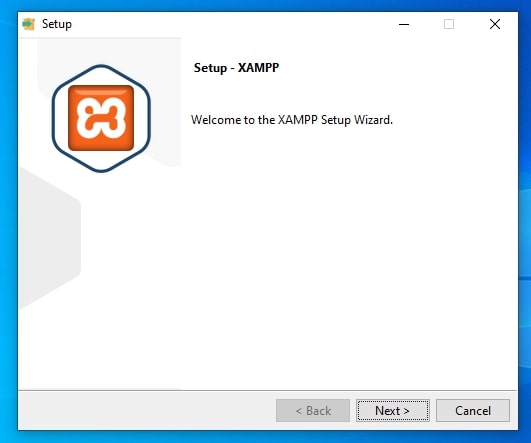
After finishing the download, double-click the XAMPP installation file to start the installation
Step 1: click next
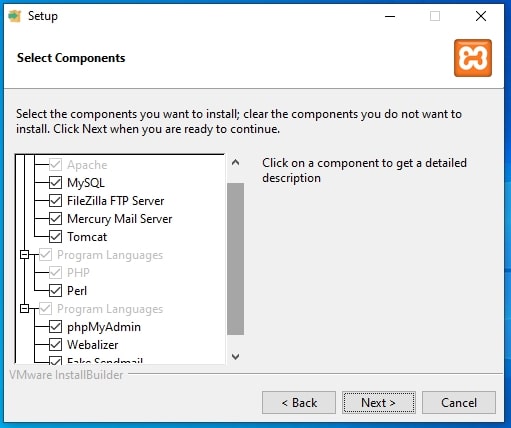
Step 2 : klik next
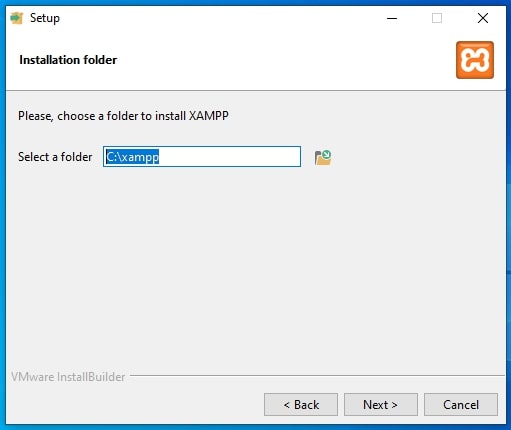
Step 3: Specify the XAMPP installation location or leave the default at C:\xampp, click next
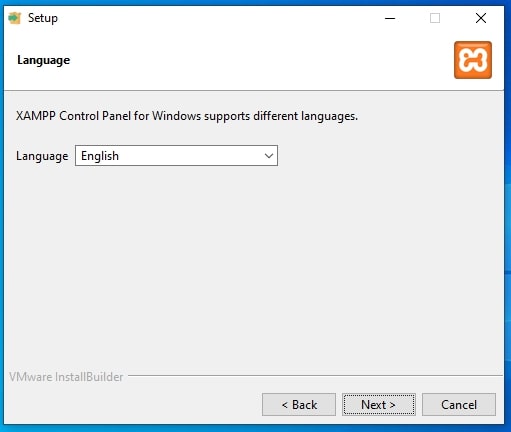
Step 4: Select your language preference then click next
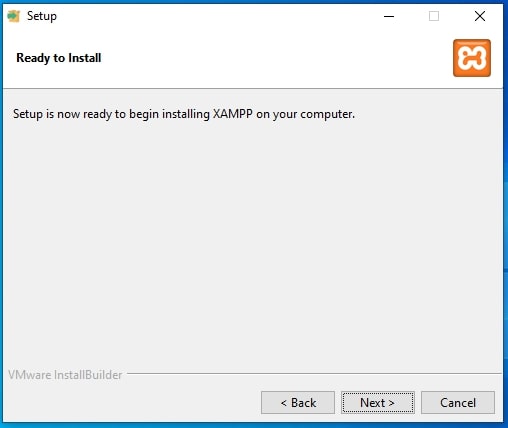
Step 5: click next to begin the installation
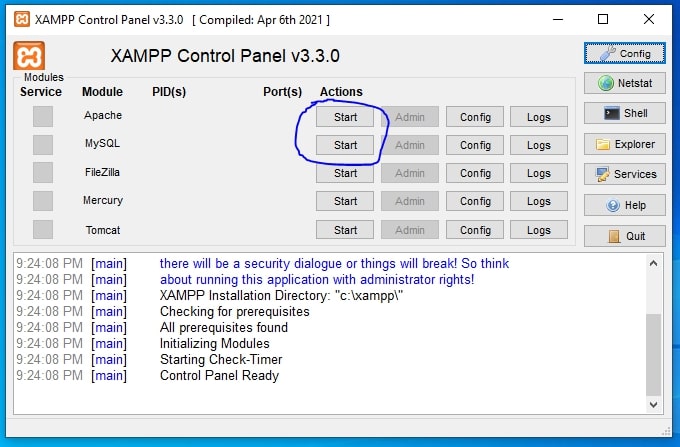
Run the Localhost Server
After the installation process is complete, open the XAMPP panel then start Apache and MySQL to run the webserver and database on localhost (your computer).
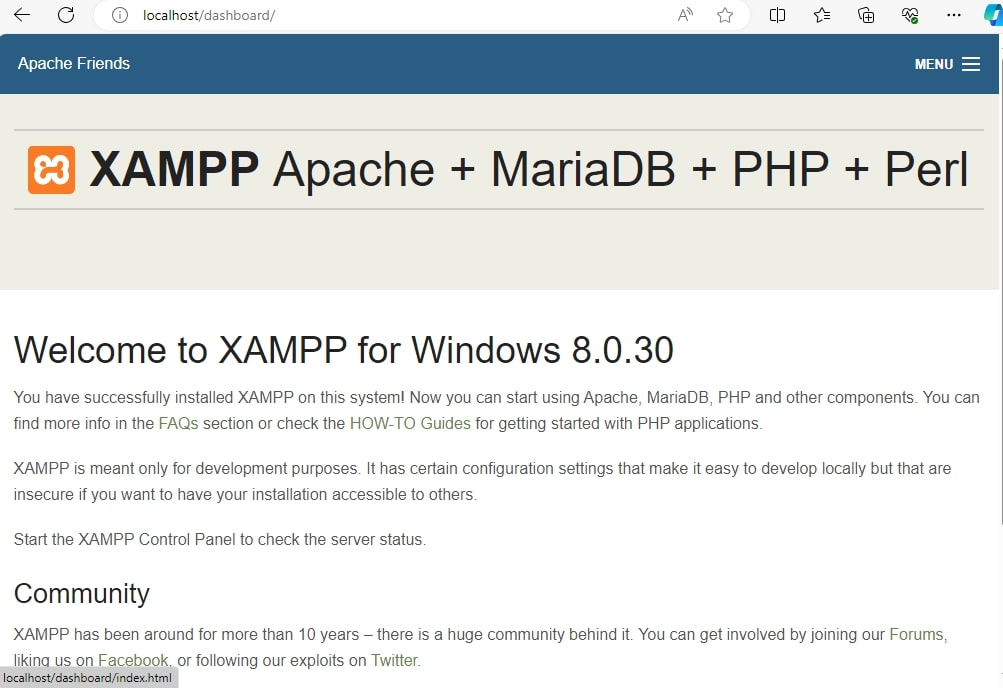
Check if the webserver is running by typing localhost in the address bar of your browser, if it appears as below, congratulations your XAMPP installation has been successful and you are ready to start installing WordPress.
How to Install WordPress on XAMPP Localhost
After XAMPP has been successfully installed and the localhost server is running successfully, you can proceed to the next step which is installing WordPress on your localhost. Here are the steps:
Creating a Database for WordPress
Open a browser and go to http://localhost/phpmyadmin/ and start creating a new database.
- Open the Databases tab
- Enter the database name, in this example I used “wpbaru_db” for the database name
- Make sure you select “utf8mb4_unicode_ci” in step number 3 below
- Click the “Create” button to create the database

Preparing WordPress Files in Place
Download WordPress: Visit the official WordPress website and download the latest version of WordPress in the form of a zip file.
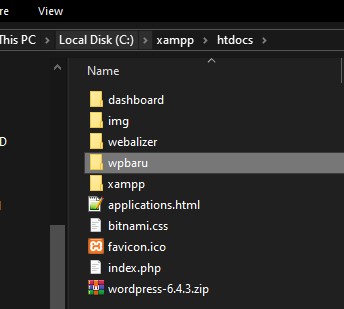
Extract WordPress Files: After the download is complete, extract the WordPress zip file to the htdocs directory in the XAMPP installation folder. Don’t forget to change the WordPress folder name to the name of the website you want, in this example I changed it to “wpbaru”
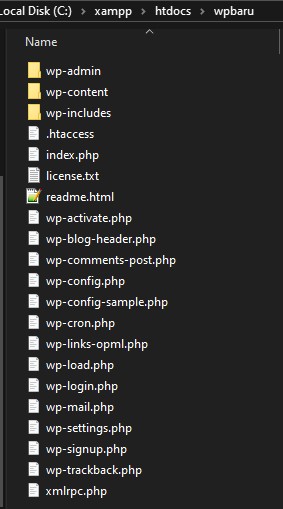
These are the contents of the files inside the WordPress folder (wpbaru after renaming) for your reference:
Starting the WordPress Installation Process
Step 1: Open your browser and go to http://localhost/wpbaru (replace wpbaru with your folder name), the page below will appear, select the language you want to use in the WordPress installation:
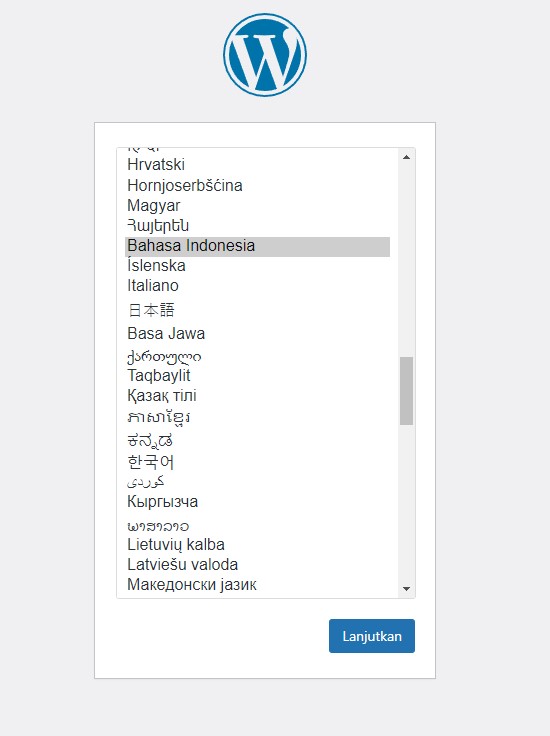
Step 2: click the “Go” button
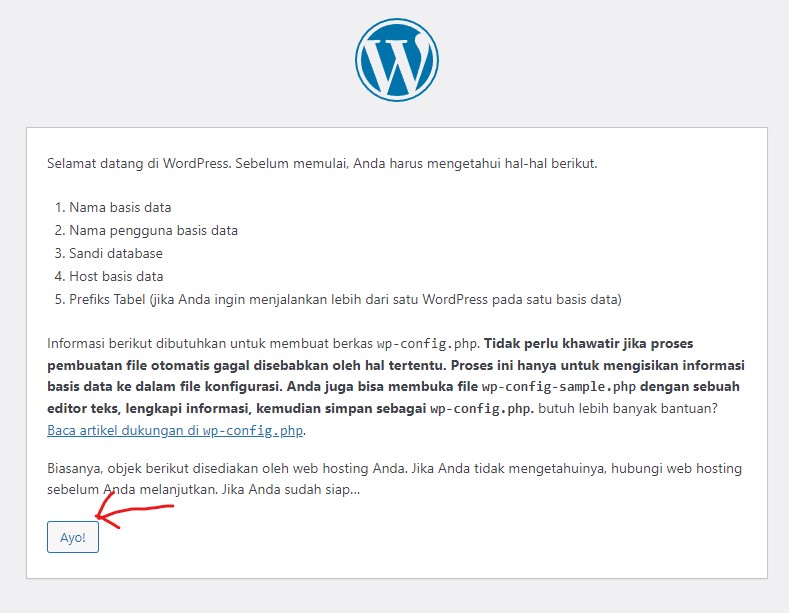
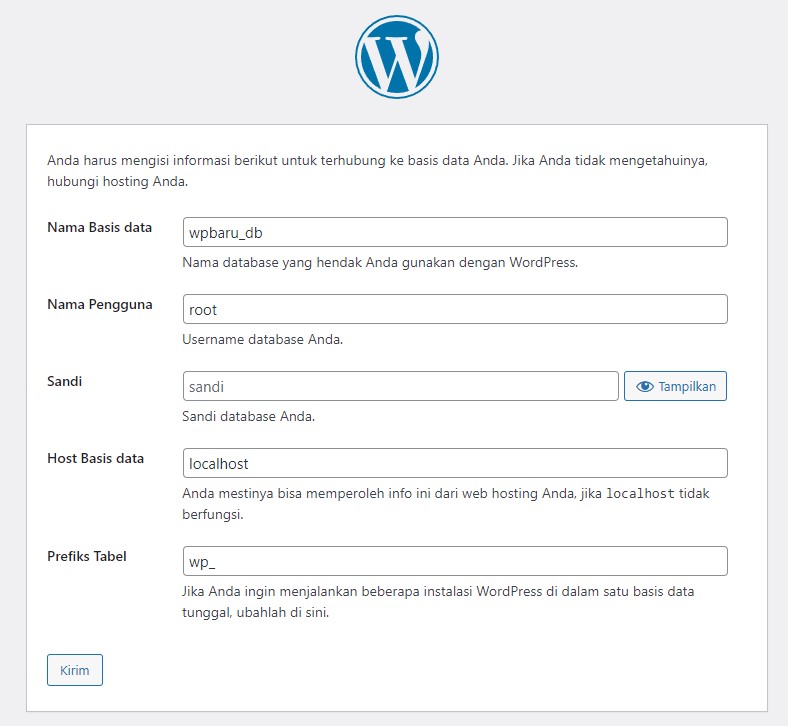
Step 3: Enter the information for connection to the database
- Enter the database name that you previously created
- Enter “root” in the user / username field, this is the default user of phpmyadmin
- Leave the password blank because the root user does not have a password
- Enter localhost as the database host
- Enter the prefix for the WordPress table names, you can use the default “wp_”
- Click the Submit button
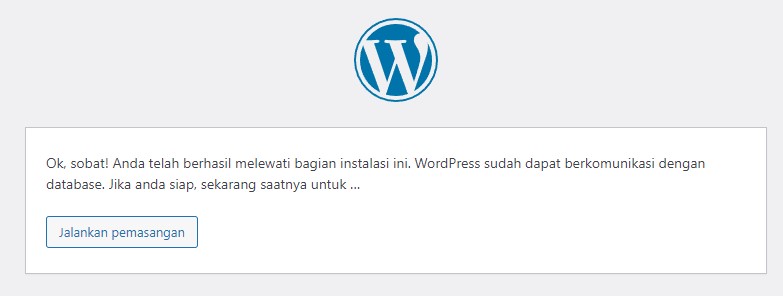
Step 4: Click the execute installation button
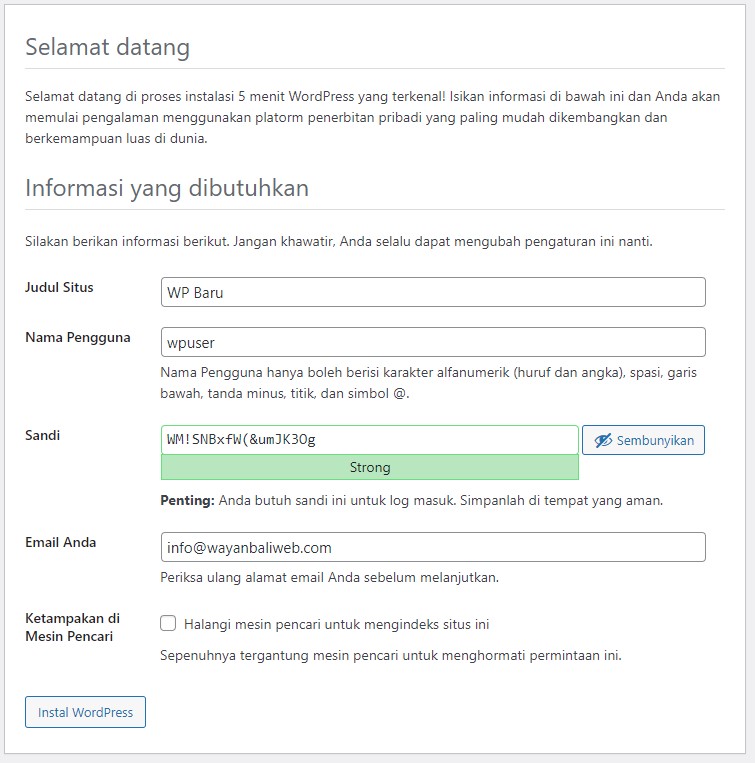
Step 5: Enter information for WordPress installation
- Enter a site name, you can change this later from the WordPress admin page after the installation process is complete.
- Enter a username, this is the username you will use to login to the WordPress admin page
- Sanda : the password you will use to login to the WordPress admin page
- Email : this is the email for your WordPress account, you can use this email to login and reset the password.
- Search engine visibility: Do not check this section if you want your website to be found by search engines (google, bing, etc).
- Click Install WordPress to start the installation process
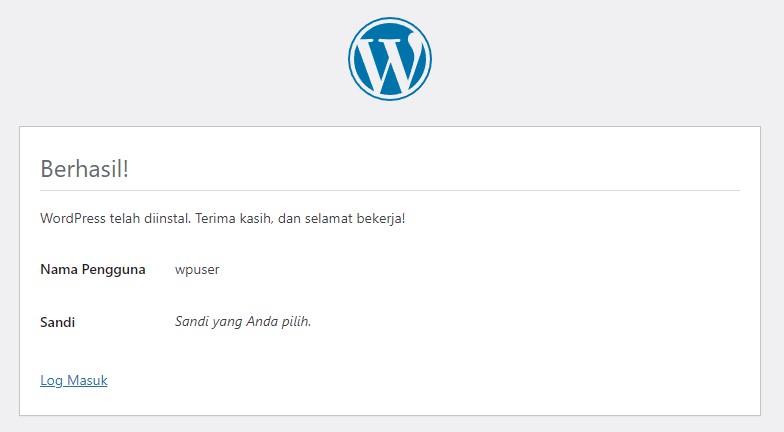
Step 6: Congratulations, you’ve successfully installed WordPress on your local server.
How to Manage WordPress
Now that you have successfully installed WordPress on XAMPP localhost, you need to know how to manage your website. Here are some basic steps to managing WordPress:
How to Login to WordPress
Go to the Login Page: Open a browser and navigate to http://localhost/wpbaru/wp-admin/ (replace wpbaru with your WordPress folder name).
Enter Credentials: Enter the username and password you created when installing WordPress.
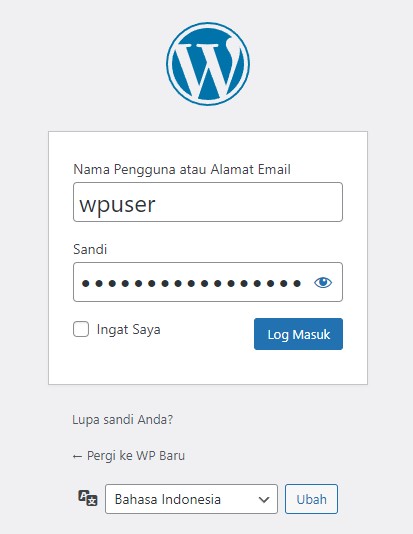
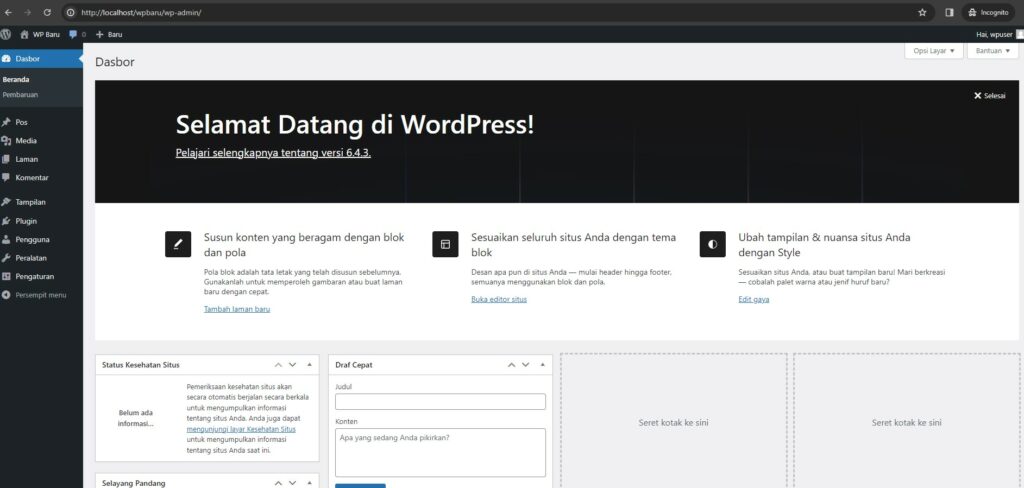
WordPress Dashboard: Upon a successful login, you will be redirected to the WordPress dashboard, where you can manage your content, themes, plugins, and more.
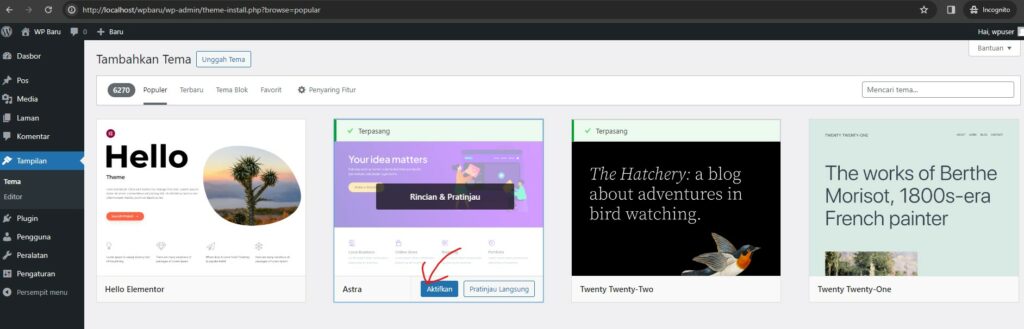
How to Install a WordPress Theme
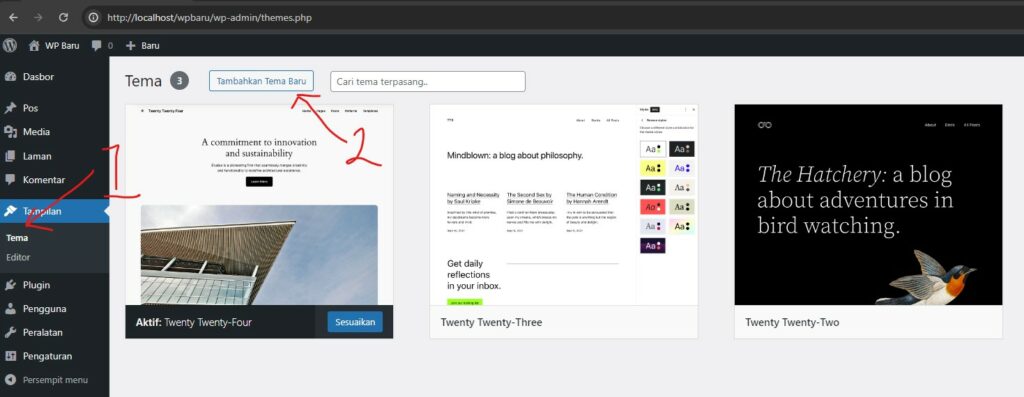
Step 1: Open the theme page from the View>Theme menu, then click “Add New Theme”
Step 2: You can search using the theme name in the top right corner, after finding the theme you want to install click the Install button on the theme.
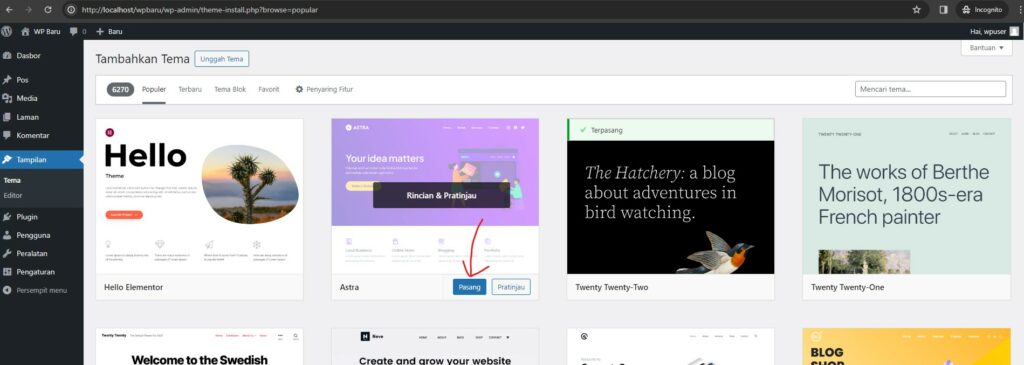
Step 3: After the installation process is complete, click the “Activate” button to activate and apply the theme to your WordPress site.
How to Install WordPress Plugins
Step 1: Go to the Plugin>Add new Plugin page and search for the plugin you want to install, then click the “install now” button on the plugin.
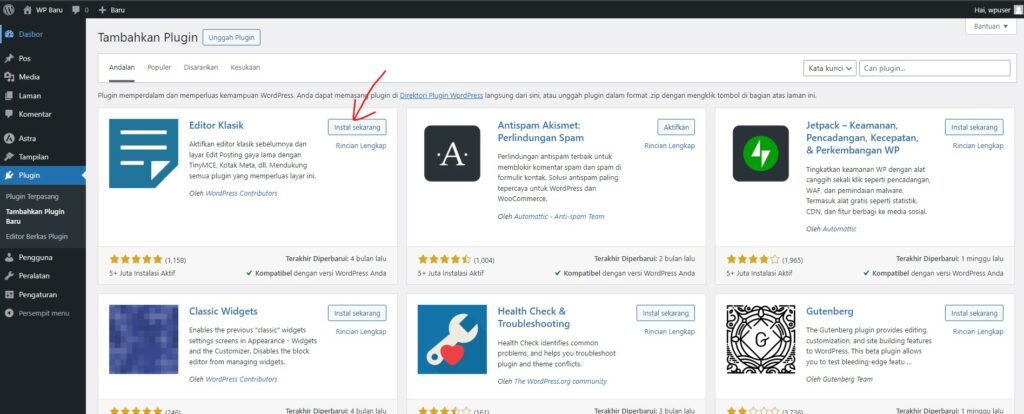
Step 2: Once the plugin installation process is complete, click the “Activate” button to activate the plugin.

By following the steps above, you can now install WordPress on XAMPP localhost and start developing your website locally. Good luck!
Don’t forget to write in the comments if you have any questions or feedback.
